WalkingPad R2 Setup Guide: Unbox, Activate, and Walk in 15 Minutes

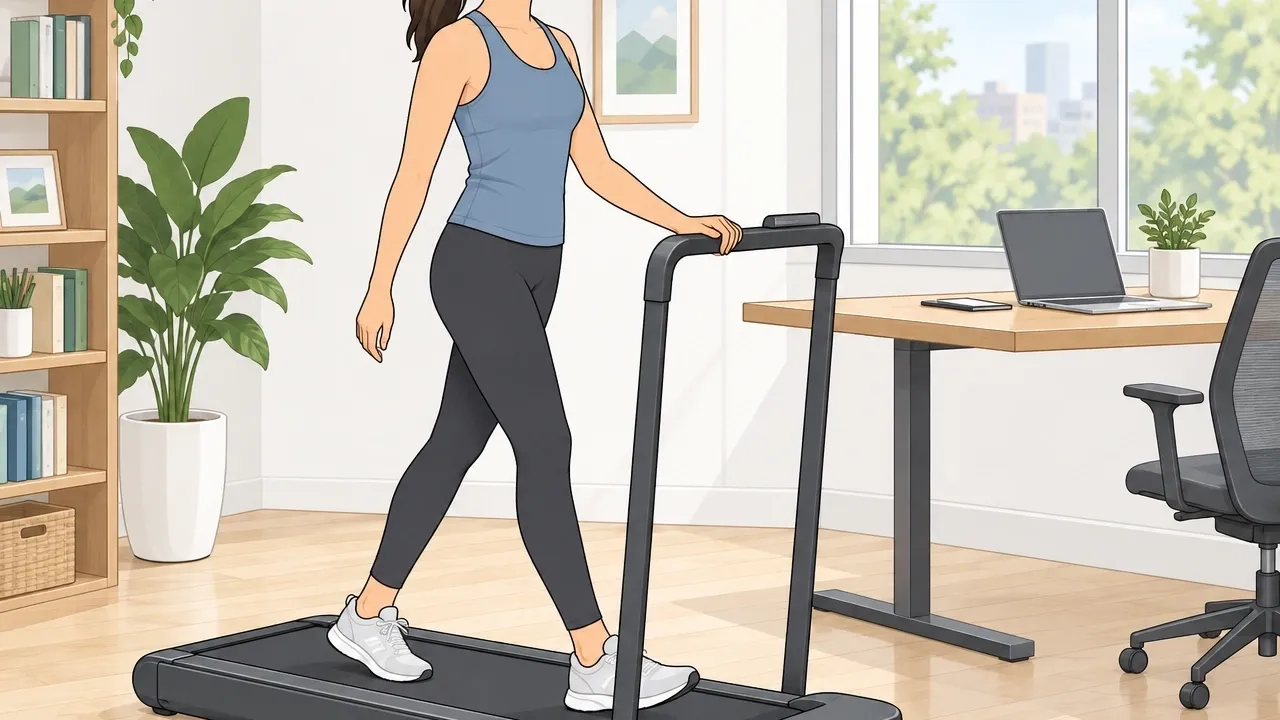
You just got your WalkingPad R2, and you want to use it right now. Good news: it's about 95% ready out of the box. No tools, no permanent assembly. But a few steps are easy to miss.
This guide walks you through everything – from opening the box to taking your first steps – and covers the common hiccups most quick-start guides skip.
Your WalkingPad R2 Setup Starts Here
Three phases will get you from box to workout:
- Physical setup – unboxing, positioning, and unfolding the treadmill
- Digital setup – connecting the KS Fit app and Bluetooth
- First use – calibrating FootSense and understanding walking vs. running mode
Let's go step by step.
Unboxing Your WalkingPad R2 – What to Expect
The R2 comes in a large, heavy box. It weighs about 60 pounds, so ask someone for help lifting it. Here is what you will find inside:
- The treadmill folded flat
- Remote control with a strap
- Power cord
- Safety clip
- User manual (thin – you can put it aside after reading this guide)
Remove the foam carefully. The deck is covered with protective foam pieces. Pull them out slowly – they can scratch the shiny black surface if you drag them across it.
Set the treadmill on a flat, hard floor before taking off the last foam.
Check for damage. Look at the belt, handrail hinges, and the display screen. If anything looks cracked or bent, contact WalkingPad support before plugging it in.
Move it to its permanent spot. The R2 has wheels at the front, but it is still heavy. Tilt it back onto the wheels and roll it to where you want it.
Do not lift it by the handrail – the handrail is not a carrying handle.
Placing the R2 on the Right Surface
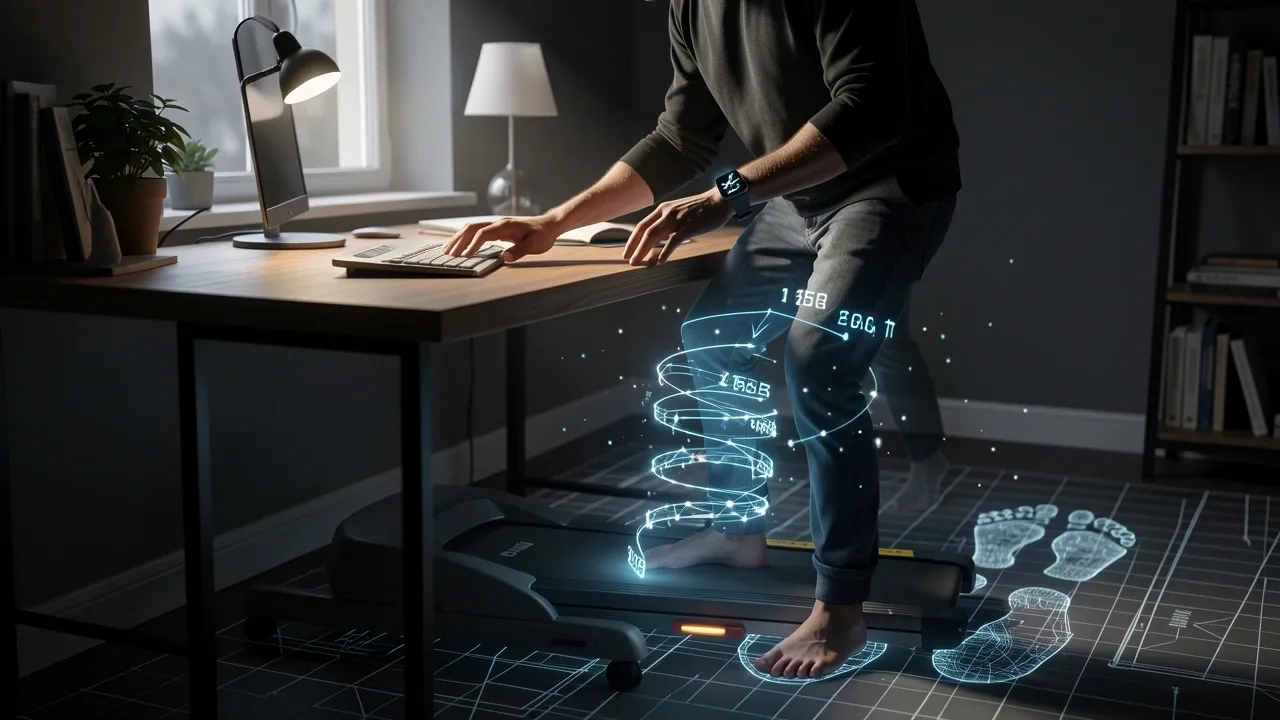
Where you put the treadmill matters more than you might think. The FootSense technology works best on hard, level floors like wood, tile, or concrete.
Carpet can confuse the sensors because the belt moves slightly on a soft surface, and the machine may not detect your steps correctly.
If you have carpet, do not set the treadmill directly on it. Place a thin, firm mat underneath – a basic plastic chair mat works well, or a 1/4-inch plywood board cut to size.
A thick foam exercise mat is too soft; it will cause the same sensor problems.
How to Unfold and Lock the Handrail
Unfolding is simple, but the lock mechanism needs attention.
- Make sure the deck is flat on the floor.
- Grip the handrail near the center and lift it upward until it clicks into the upright position.
- You should hear two clicks – one for each side. If you only hear one click, the handrail is not fully locked on both sides. Push down gently on the higher side to engage the second lock.
- Give the handrail a gentle shake. It should feel solid, not wobbly.
That is it. The deck stays locked flat – no levers or pins to adjust.
Connecting the Power and Initial Motor Run
Plug the power cord into the port on the front left side of the motor hood (the black cover at the front). Then plug the other end into a wall outlet.
Do not use an extension cord – the motor draws enough current that a long cord can cause voltage drop and make the belt run unevenly.
Press the power switch located under that same motor hood. The display should light up.
If it does not, check that the wall outlet is live and that the switch is fully toggled – it can be stiff first time.
Initial motor run: Start the treadmill at the lowest speed (press the "+" button on the remote to 0.5 mph). Let it run for 30 seconds with no one standing on it.
This spreads the lubricant across the belt and makes sure the motor is working smoothly. You will hear a slight whir at first; that is normal.
Pairing the KS Fit App via Bluetooth
The app (KS Fit, available for iOS and Android) tracks your steps, distance, and time. But Bluetooth pairing can be fussy. Here is the trick:
- Make sure the treadmill is powered on and the belt is moving (even at the slowest speed).
- Open the KS Fit app on your phone. Do not go into your phone's Bluetooth settings – the treadmill will not show up there.
- In the app, tap the "Connect" icon. Wait for the treadmill name (R2-xxxx) to appear. If nothing shows after 10 seconds, restart the app and try again.
- If pairing still fails, reset the treadmill's Bluetooth module: press and hold the "+" and "-" buttons on the remote together for 5 seconds. The display will flash once, and the Bluetooth is reset. Try pairing again.
Once paired, the app will remember the treadmill the next time you open it, as long as the treadmill is on.
Understanding the Two Modes – Walking vs. Running
The R2 is a 2-in-1 machine. The handrail position changes the mode.
| Handrail Position | Mode | Speed Range | Control Method |
|---|---|---|---|
| Down (flat) | Walk | 0.5 – 6 km/h | FootSense or remote |
| Up (locked) | Run | 0.5 – 12 km/h | Remote only (FootSense disabled) |
In walk mode, FootSense is active. Walking toward the front of the belt speeds you up; walking toward the back slows you down.
The remote also works in walk mode – you can switch between auto mode (FootSense) and manual mode (remote control) by pressing the mode button on the remote.
In run mode, FootSense turns off because running is too fast for foot-pressure sensing. You control speed with the remote.
Always raise the handrail before you start running – trying to run with the handrail down is unsafe.
First Walk/Run – Calibrating FootSense and Remote
Take your first few steps in walk mode with the handrail down.
- Press the remote's "Start" button. The belt begins slowly at 0.5 km/h.
- Stand in the center of the belt. Walk forward toward the front of the machine. You should feel the belt speed up gradually. Walk backward toward the rear – the belt slows.
- If the response feels too slow or too snappy, adjust the sensitivity in the KS Fit app. Go to Device Settings > FootSense Sensitivity. Try "Low" if you walk lightly; "High" if you need a faster reaction.
- Test the remote: press "+" and "-" to change speed manually. In manual mode, FootSense is bypassed completely.
Important: Your first walk should last at least 5 minutes at a slow speed (3 km/h). This warms up the belt and lubricant.
New belts can feel slightly sticky – that goes away after the first 15 minutes of use.
Critical Considerations Most Setup Guides Miss
Here are the things you will not find in the official manual.
Warm-up the belt before your first real workout
Run the belt at 1 mph (about 1.6 km/h) for 5 minutes without anyone standing on it. This helps the belt settle and reduces friction.
Some belts have a slight fold crease from packaging; warming the belt works out that crease.
Carpet vs. hardwood – the real fix
If you must use the R2 on thick carpet, a 1/4-inch hard plastic mat is the only reliable fix. A thin yoga mat will not work – the treadmill will wobble and FootSense will misread your steps.
If you own a standing desk on carpet, place the treadmill on a piece of plywood cut to the same size as the treadmill base.
Always use the safety clip
The safety clip is tucked inside the box, often in a small plastic bag with the remote strap. Attach one end to your clothing and the other to the treadmill's magnetic sensor.
If you stumble, the clip pulls out and stops the belt instantly. Do not skip this.
Storage folding – vertical vs. horizontal
The R2 can be stored two ways:
- Horizontal slide-under: Fold the handrail down, tilt the treadmill onto its wheels, and slide it under a bed or sofa. This is the preferred method for daily storage.
- Vertical lean: Stand the treadmill on its end against a wall. This saves floor space but puts stress on the folding hinge over time. Only use vertical storage for short periods (a few days) and make sure it is stable against the wall so it does not tip.
Frequently Asked Questions
Do I need to lubricate the belt before first use?
No. The R2 comes pre-lubricated from the factory. You only need to add lubricant after about 40 hours of use, or whenever the belt starts to feel dry or squeak.
The treadmill won't turn on – what should I check?
First, check the power switch on the motor hood – not just the wall switch. It is a rocker switch that can be accidentally toggled off during shipping. Second, press the "Start" button on the remote.
The treadmill will not start from the display panel alone; the remote is required to start the belt.
Can I use the WalkingPad R2 on a standing desk without unfolding the handrail?
Yes. Lower handrail = walk mode only. Do not raise the handrail while under a low desk – it can hit the desk surface and damage both the treadmill and your furniture.
Why does my speed suddenly drop when I walk near the back?
That is FootSense's normal deceleration zone. The rear third of the belt is the "slow down" area.
If it feels too sensitive, switch to manual mode via the remote – then the speed stays where you set it no matter where you stand.
How do I reset the odometer or other stored data?
Press and hold the "Stop" button on the remote for 10 seconds until the display flashes "0000." This resets the trip distance and calories.
The total lifetime distance is stored and cannot be reset by the user.