How to Adjust a Walking Pad Belt: Fix Centering and Tension the Right Way

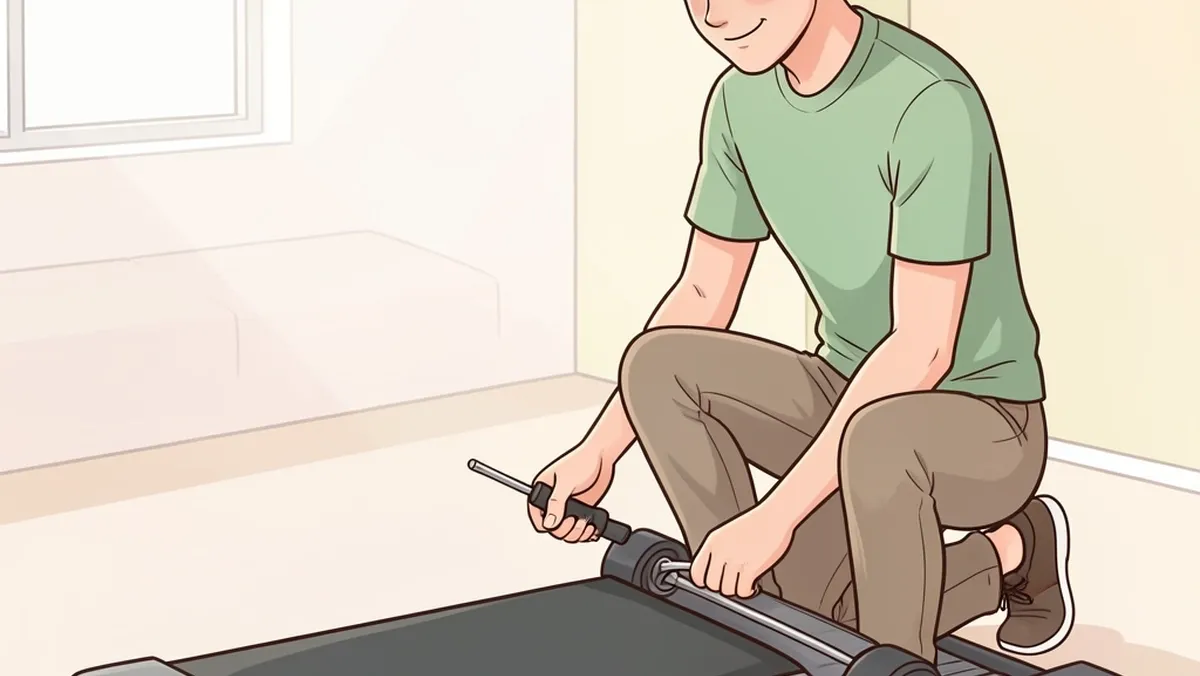
If your walking pad belt is drifting to one side, slipping underfoot, or making a scraping noise, you don’t need to call a repair service.
Most belt problems come down to two things: centering (the belt moves left or right) or tension (the belt is too loose or too tight).
I’ve fixed both issues on several walking pads, and once you know the difference, you can solve it in under ten minutes. Most guides only cover centering with a single hex bolt at the back.
But walking pads are not all the same. Some need you to tighten the belt from the front. Others use a Phillips screwdriver instead of an Allen key. A few have no visible adjustment points at all.
I’ll walk you through the exact steps for each situation, including the most common brands.
First, Figure Out Which Problem You Have
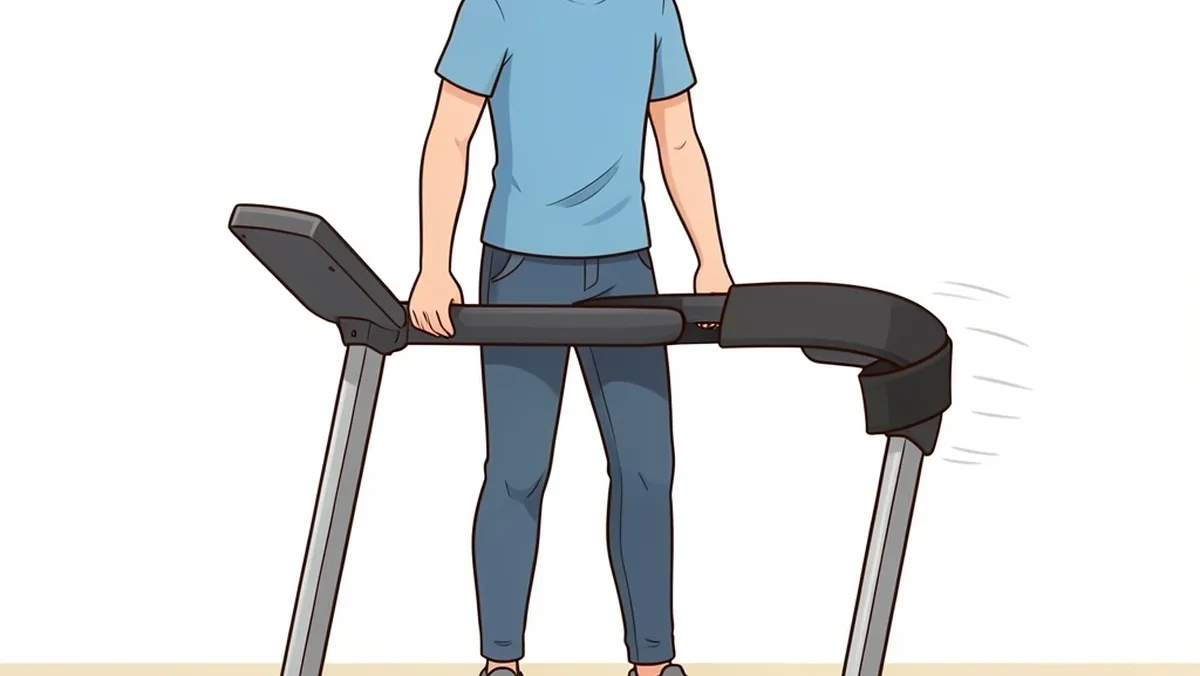
Before you touch any bolts, take a close look at how the belt behaves while the walking pad is running at a low speed (around 1–2 km/h). Watch from behind and from the side.
| Symptom | Problem | What to Do |
|---|---|---|
| Belt slides to one side (left or right) while running | Centering issue | Adjust the rear hex bolts to steer the belt back to center |
| Belt slips or hesitates when you step on it | Too loose – tension issue | Tighten the belt by adjusting the rear or front roller bolts |
| Belt feels rock‑hard, motor labors, or walking feels jerky | Too tight – tension issue | Loosen the belt slightly |
| Belt rubs against the side frame, fraying edges | Centering issue (usually combined with over‑tightening) | Center first, then check tension |
If you see fraying or hear a ticking sound, stop using the pad immediately. Continued use can damage the belt or the motor. A quick adjustment usually fixes it.
Centering the Belt (When It Drifts Left or Right)
This is the most common fix. Almost every walking pad has two adjustment bolts at the back of the machine, one on each side of the rear roller.
They are usually covered by small rubber caps or hidden behind a plastic panel.
Tools You’ll Need
- A hex key (Allen wrench) – typically 4 mm, 5 mm, or 6 mm. Many walking pads include one (check the storage compartment or under the belt).
- A flathead screwdriver if the bolts are under a cover.
Step‑by‑Step Centering
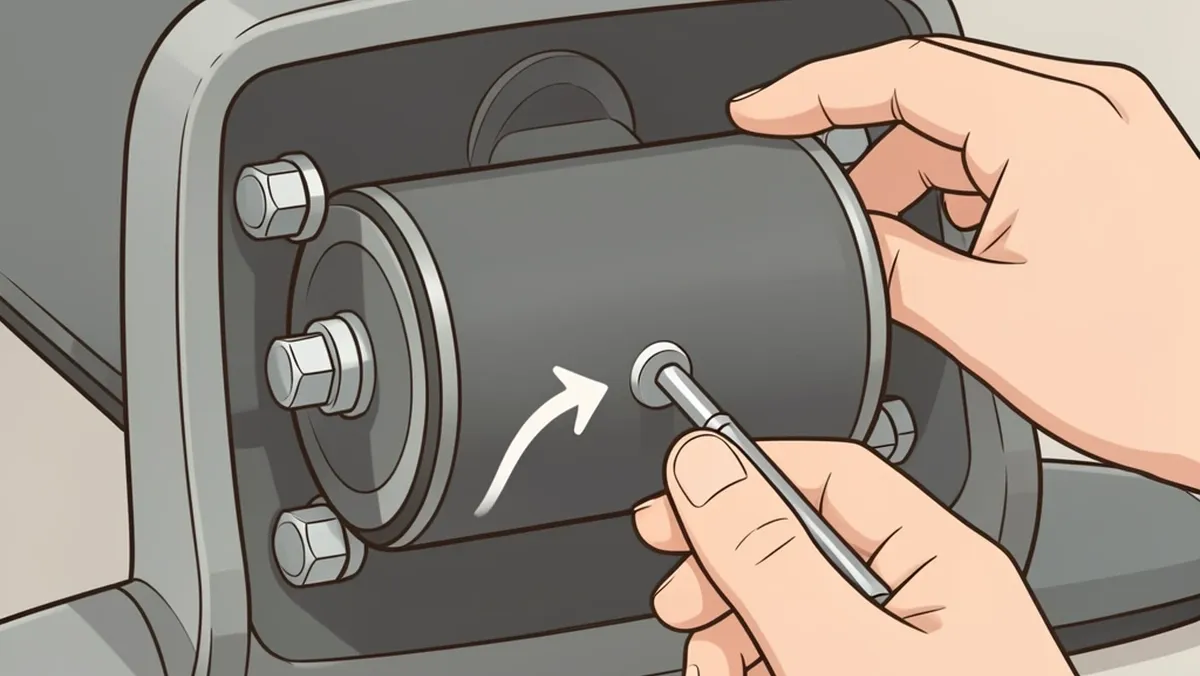
- Unplug the walking pad. Safety first – never stick tools into moving parts.
- Locate the rear roller end caps. On most walking pads (like Yagud, Deerrun, Sperax), you’ll see two small holes or hex bolts on the back side of the frame, one on the left and one on the right.
- Determine direction. Turn the pad on at low speed and watch which way the belt drifts. Then turn it off and unplug again.
- Make the correction.This works because tightening one side pulls the roller slightly forward on that side, steering the belt back toward center.
- If the belt drifts to the left, tighten the left bolt by turning it clockwise a quarter turn.
- If the belt drifts to the right, tighten the right bolt clockwise a quarter turn.
- Test. Plug in, turn on at low speed, and watch for 10–15 seconds. If the belt still drifts, repeat with another quarter turn. Only adjust one side at a time.
Important: Never turn the bolts more than half a turn at once. Over‑adjusting is the most common mistake I see. The belt only needs a tiny pull to correct its path.
What If There Are No Bolts at the Back?
Some budget walking pads (like certain Urevo and Pitpat models) hide the adjustment screws under a rear cover. You may need to remove a few Phillips screws to access the hex bolts.
Others have a single adjustment screw on the side of the frame. Check your manual or look for small holes near the rear roller.
Tightening or Loosening the Belt (When It Slipping or Too Tight)
Belt tension controls how tightly the belt wraps around the front and rear rollers. A belt that is too loose will slip when you push off during a walk.
A belt that is too tight will overload the motor and wear out the belt prematurely.
How to Check Tension
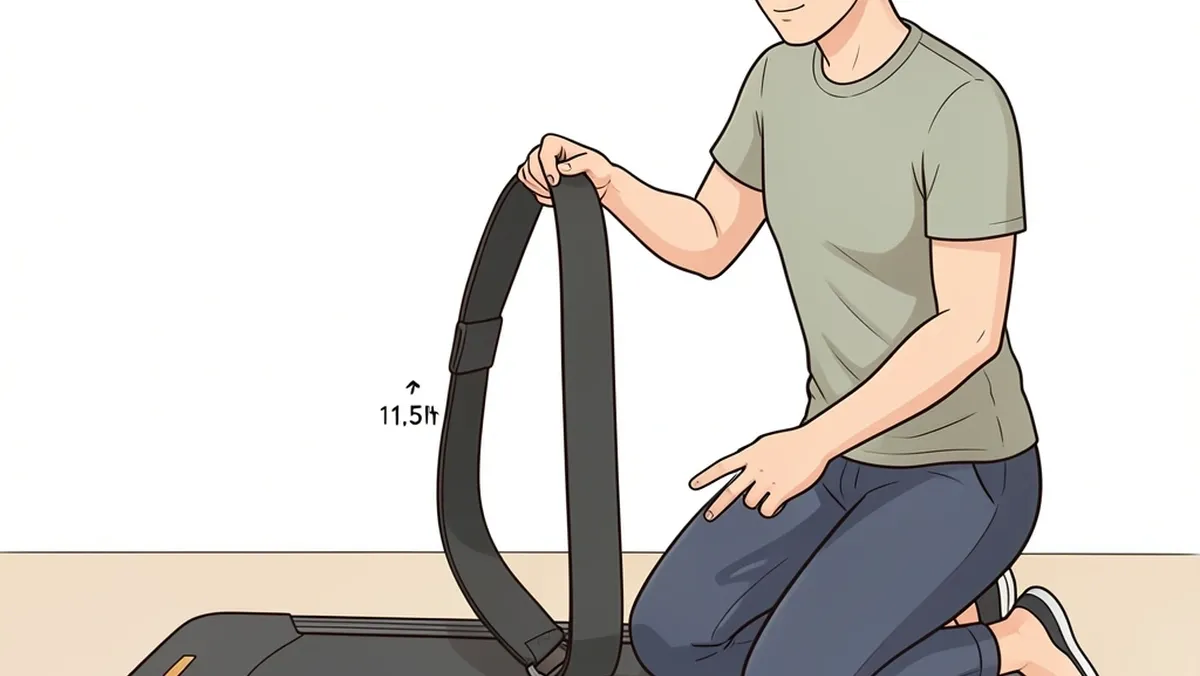
With the pad unplugged, lift the middle of the belt (about halfway between the front and rear rollers). You should be able to lift it 1.5 to 2 inches (4–5 cm) off the deck.
Any less and it's too tight; any more and it's too loose.
Two Types of Tension Adjustments
Walking pads use one of two systems. Identify which yours has before you start.
| System Type | Where to Find It | Tool Required | Common Brands |
|---|---|---|---|
| Rear roller bolts (same bolts used for centering, but you turn both equally) | Back of the machine, two hex bolts | Hex key | Yagud, Deerrun, Sperax, Merach |
| Front roller screws (under a front cover or motor housing) | Near the motor, sometimes protected by a plastic panel | Phillips screwdriver or hex key | Pitpat, Urevo (budget models) |
Step‑by‑Step Tension Adjustment (Rear Bolts)
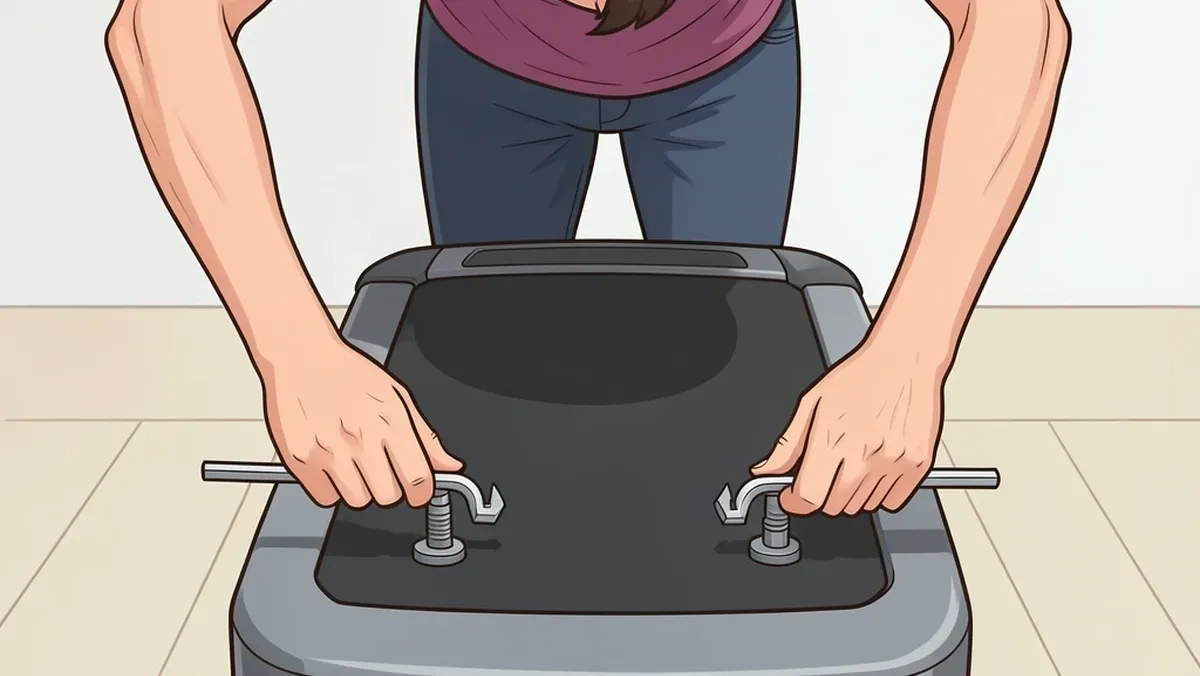
- Unplug the walking pad.
- Locate the two rear hex bolts – the same ones you use for centering.
- Tighten or loosen both bolts equally.Turning only one side will pull the belt sideways instead of tightening it evenly.
- To tighten the belt: turn both bolts clockwise the same amount (start with a quarter turn each).
- To loosen the belt: turn both bolts counter‑clockwise the same amount (start with a quarter turn each).
- Recheck tension by lifting the belt again. Repeat the quarter‑turn adjustments until the lift is within the 1.5–2 inch range.
- Test. Run the pad empty at a low speed. It should run quietly and the belt should not drift after a minute. If it drifts, go back to centering steps.
Front Roller Tension (Pitpat and Some Urevo Models)
If your walking pad has no bolts at the back, look under the front motor cover. You’ll likely find two screws (one on each side of the front roller).
Use a Phillips screwdriver to turn them equally – clockwise to tighten, counter‑clockwise to loosen. Start with a half turn on each side.
This is rare on newer models, but I’ve seen it on some older Pitpat machines.
Brand‑Specific Adjustment Guide
Below are the specific adjustment locations and tools for the most popular walking pad brands.
If your brand isn’t listed, look for the general pattern: rear hex bolts for centering and tension on most models; front screws on a few.
| Brand | Centering Bolts Location | Tension Location | Tool Size | Special Note |
|---|---|---|---|---|
| Yagud | Rear, both sides | Same bolts (adjust both equally) | 5 mm hex key | Some models have rubber caps – lift them off |
| Deerrun | Rear, both sides | Same bolts | 6 mm hex key | Check that the pad is on a level surface – tilt can mimic belt drift |
| Sperax | Rear, both sides | Same bolts | 4 mm hex key | Very sensitive to quarter‑turns; go slow |
| Merach | Rear, both sides | Same bolts | 5 mm hex key | Check belt tension before centering – a loose belt won't stay centered |
| Pitpat | Rear, under a small plastic cover (remove with Phillips screwdriver) | Front roller screws under motor cover | 4 mm hex key (rear); Phillips (front) | If centering doesn’t work, loosen front screws slightly first |
| Urevo | Rear, often with a single hex bolt per side | Same as centering OR front screws (depends on model year) | 5 mm hex key | Check manual – older models use front tension |
Common Mistakes to Avoid
- Adjusting while the belt is running. You can get hurt or strip the bolt. Always unplug.
- Over‑tightening the belt. A rock‑hard belt wears out the motor bearings fast. Stick to the 1.5–2 inch lift rule.
- Only adjusting one side for tension. That steers the belt sideways, not tightens it. Always turn both bolts equally.
- Forgetting to check the drive belt. If the walking belt is tight but still slips, the motor drive belt (inside the machine) might be loose. That’s a different repair – consult your manual or a technician.
- Ignoring a wobbling or tilted walking pad. An uneven floor makes the belt drift constantly. Use a level and shims under the feet.
When to Replace Instead of Adjust
Adjusting won’t fix a belt that is:
- Frayed, cracked, or torn along the edges
- Glazed (shiny and hard) from too much friction
- Stretched so much that after tightening the bolts fully, the lift is still more than 2 inches
- Making a thumping sound even after centering and tension – could mean a worn roller bearing
If any of these apply, buy a replacement belt for your specific model. It’s usually cheaper than risking motor damage.
How to Keep Your Belt from Needing Frequent Adjustments
- Walk in the middle of the belt. Staying centered prevents uneven wear.
- Place the walking pad on a flat, hard surface. Carpet or uneven floors cause drift.
- Lubricate the belt every 3–6 months (check your manual for approved silicone lubricant). A dry belt creates friction that pulls it sideways.
- Check tension once a month if you walk daily. A slight stretch over time is normal – a quick quarter‑turn each side keeps it perfect.
Frequently Asked Questions
What size hex key does a typical walking pad use?
Most machines use a 4 mm, 5 mm, or 6 mm Allen wrench. Check the manual, or look for the tool that shipped with your pad (often tucked under the belt or in a side pocket).
If you lost it, a standard multi‑tool hex key set from any hardware store will work.
Can I adjust the belt while the walking pad is unplugged?
Yes for tension adjustments. For centering, you need to watch the belt move while it runs, so you need to plug it in briefly between turns.
Unplug before you touch any bolts, then plug in, run for 10 seconds, and unplug again to check. This keeps you safe.
Why does my walking pad belt keep slipping even after tightening?
Three reasons: (1) You tightened only one side, which pulled the belt sideways but didn’t actually increase tension. (2) The motor drive belt (under the cover) is loose – not the walking belt. (3) The belt is glazed or the rollers are slippery.
Try cleaning the rollers with a dry cloth. If slipping persists, replace the belt.
How often should I adjust my walking pad belt?
Only when you notice symptoms – drift, slipping, noise. There’s no schedule. But if you walk daily, check tension once a month. A tiny quarter‑turn can prevent bigger problems later.
My walking pad has no visible bolts – how do I adjust it?
Check these places: (1) Under a plastic cover at the back – remove a few screws. (2) Behind the motor housing at the front – you may need to take off a panel. (3) Some cheap models have a quick‑release lever on the side – pull it to loosen the belt.
If you still can’t find anything, search YouTube for your brand name + “belt adjustment.”
With these steps, you should be able to handle any belt issue on your walking pad. Start with the symptom checklist, then follow the right procedure for your brand.
Most fixes take less than five minutes and cost nothing. If you hit a snag, come back to the brand table – it covers the most common variations.